Applying a screen protector can feel rewarding—until those frustrating air bubbles appear beneath the surface. Despite careful alignment and gentle pressure, tiny pockets of air often become trapped, distorting visibility and reducing touch sensitivity. Fortunately, most bubbles can be removed with some patience and the correct techniques.
Before attempting removal, assess the type of protector you’ve applied. Tempered glass protectors behave differently than plastic film ones. Understanding the material involved helps determine the best removal approach without causing damage. Some bubbles vanish within days, while others require direct intervention.
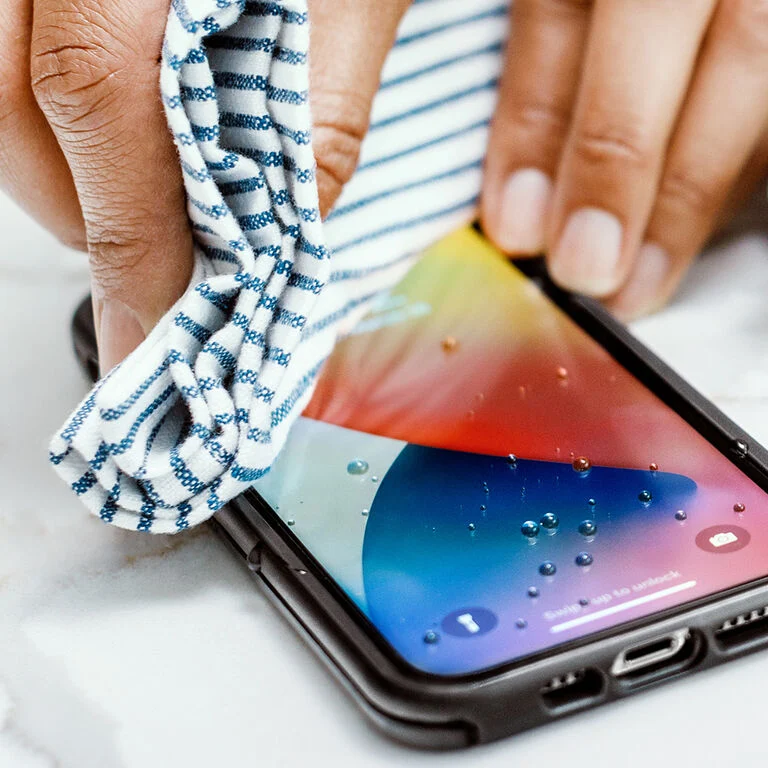
Start by washing your hands thoroughly. Any grease or dirt on your fingers could worsen the situation. A microfiber cloth, free of debris, is essential. Using it minimizes the risk of scratching the protector or transferring particles beneath it during the process.
If the air pocket is small and near an edge, gentle pressure may be enough. Wrap the cloth around your finger or a soft-edged card. Then, press outward from the bubble toward the closest edge. Slow, consistent motion typically forces the air out without disrupting adhesion elsewhere.
For larger bubbles that don’t respond to light pressure, consider lifting a small portion of the protector. Use a plastic card or fingernail to slightly peel back the nearest corner. Do this slowly and carefully to avoid cracking or bending the material. Once lifted, use adhesive tape to remove dust or lint that may have caused the bubble.
To make a dust-removal tool, wrap clear tape around your fingertip, sticky side facing outward. Dab the exposed adhesive against the screen to pick up contaminants. After clearing the surface, reposition the protector carefully, pressing it down from the lifted corner outward. Doing this gradually helps prevent new air pockets from forming.
If you spot bubbles near the center, apply consistent pressure using the wrapped card method. Move in a straight path toward the edges. Wiggling or pressing too forcefully could cause creases or cracks, especially with tempered glass.
Warm environments may assist the process. Slightly warming the protector with a hair dryer on low heat—held at a safe distance—can soften the adhesive slightly. This method helps bubbles release more easily. Always avoid overheating, as excessive warmth may warp the protector or harm your device.
For those using wet-apply protectors, such as TPU films, wait 24–48 hours after application. During this time, small bubbles often disappear naturally as the moisture evaporates. Trying to press them out prematurely might make matters worse. Patience, in such cases, is more effective than force.
Preventing bubbles begins before installation. Clean the screen thoroughly using alcohol wipes or screen-safe cleaning solutions. Ensure zero dust remains by using a dust-absorber sticker or blowing gently with compressed air. Install the protector in a clean, humidity-controlled room—bathrooms post-shower work surprisingly well due to reduced airborne particles.
Some products come with installation frames or alignment tools. These help center the protector accurately and reduce chances of trapping air. Investing in higher-quality protectors with silicone-based adhesives often leads to fewer installation issues.
If bubbles persist after multiple attempts, the adhesive may be defective or contaminated. In such cases, replacing the protector may be the only viable solution. Trying endlessly on faulty material wastes time and risks damaging your screen.
Professionals at mobile accessory shops often have the tools and expertise to apply protectors flawlessly. If the process becomes frustrating, seeking assistance may save both energy and resources. Many retailers include installation with purchase, offering added peace of mind.
Regularly cleaning your screen and keeping your hands clean while handling accessories contributes to smoother applications. Even the best protectors can fail when basic hygiene is overlooked. Avoid dusty desks or pet hair when installing any accessory.
Be cautious when removing protectors to reapply them. Constant peeling reduces adhesive strength, increasing the likelihood of more bubbles forming. If you need to reapply, limit how often you lift and reposition.
Sometimes, bubbles that appear to be air pockets are actually trapped moisture or lint. Identifying the cause ensures that your removal method matches the problem. Misidentifying debris as air can lead to ineffective fixes.
Use angled lighting or natural sunlight to inspect the screen. Shadows and glare help make imperfections more visible, guiding where to apply pressure or lift corners.
Screen protectors play a critical role in shielding devices from scratches and minor impacts. Maintaining their clarity ensures your display remains vibrant and touch interactions stay smooth. Removing bubbles improves not just appearance, but overall usability.
A perfectly installed protector almost disappears from view. With the right steps and steady hands, achieving that flawless finish is entirely possible—even after a few missteps.